Manual
Installation Guide
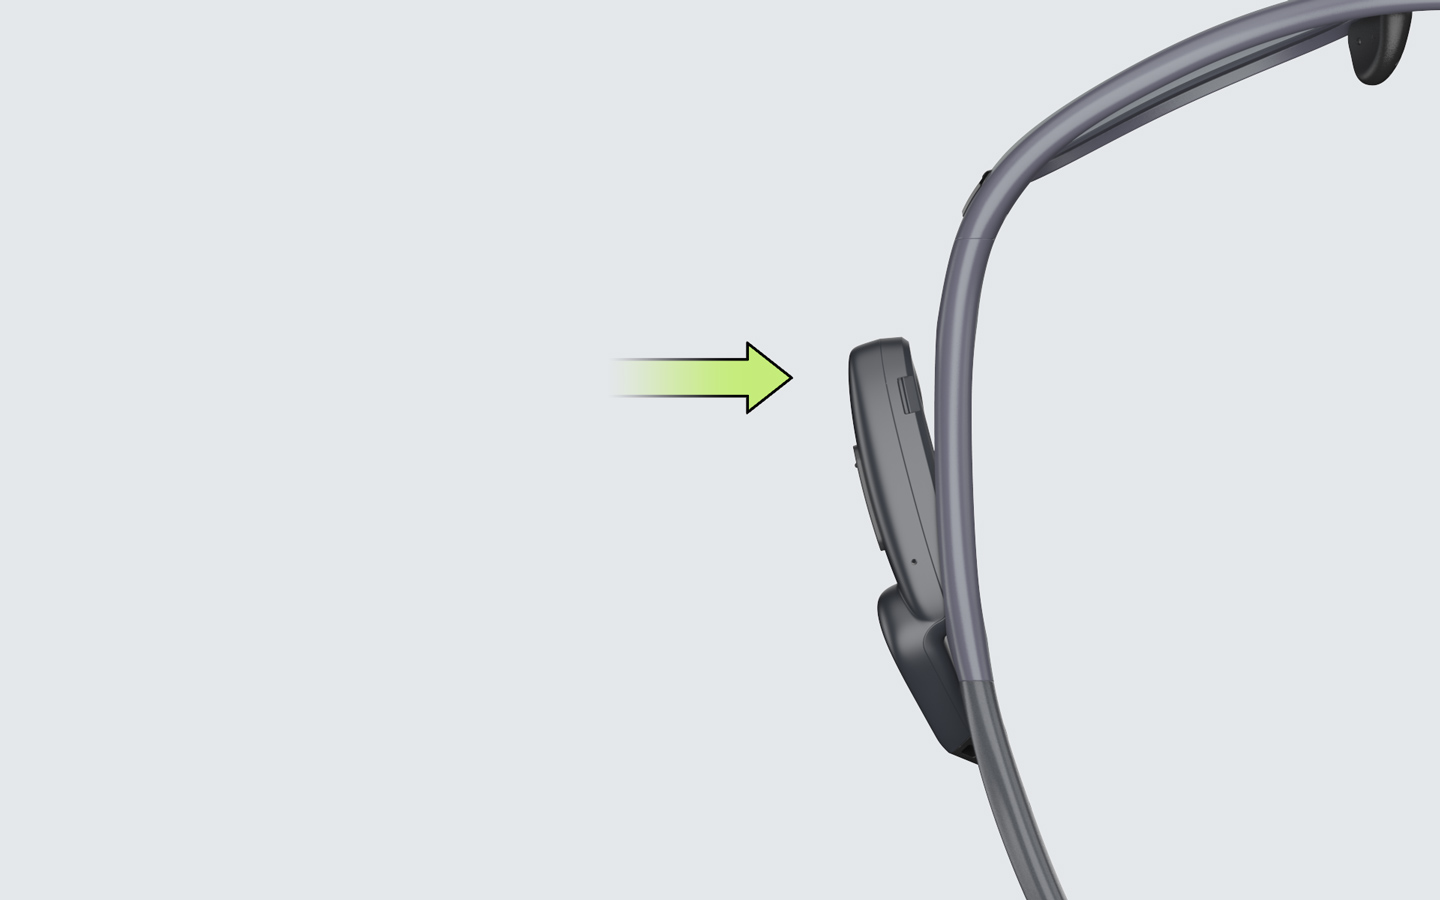
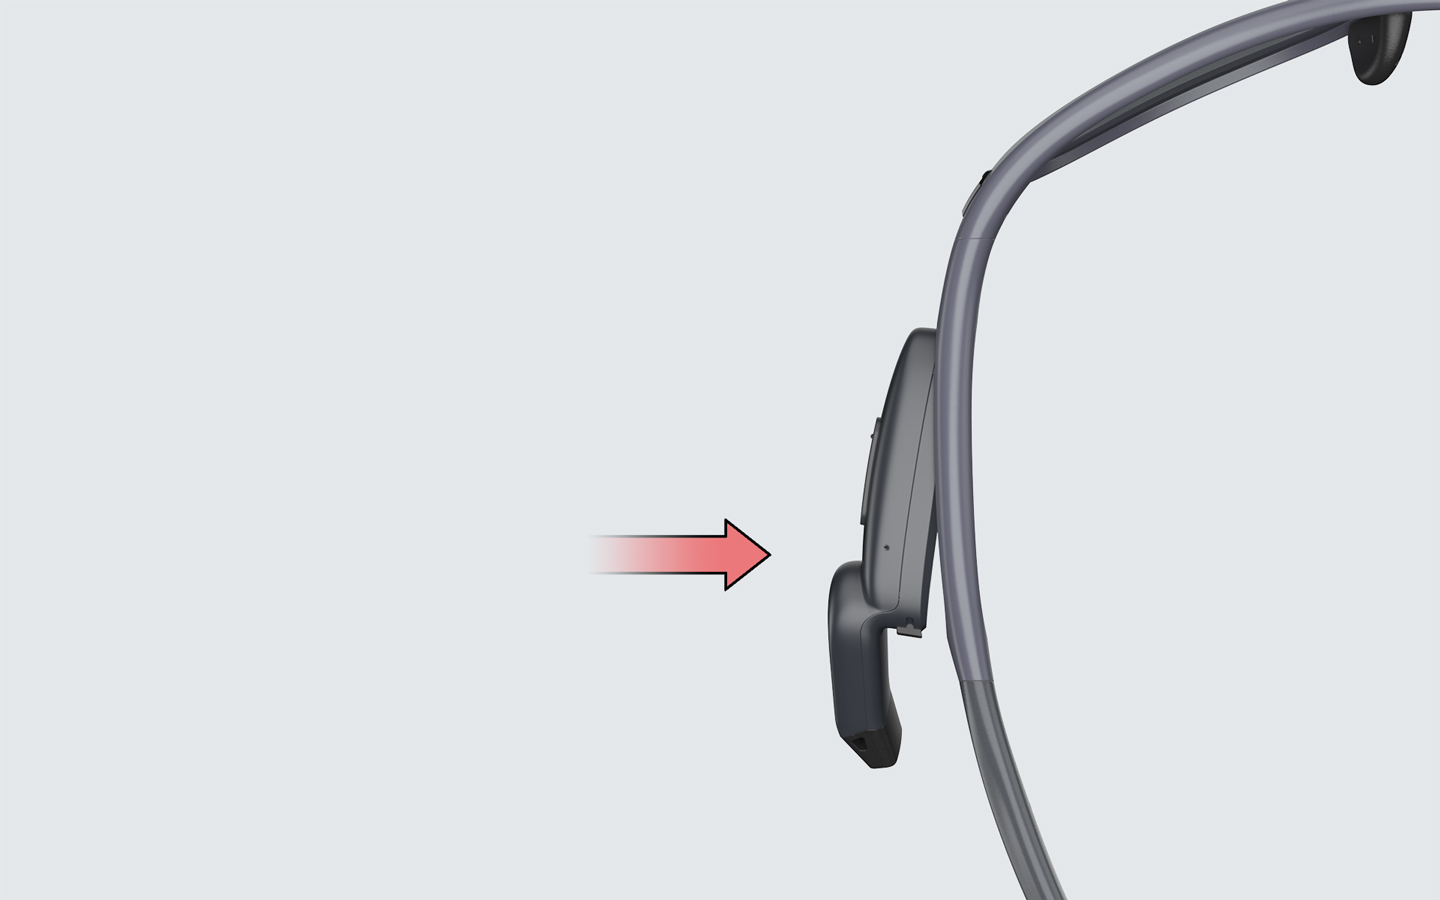
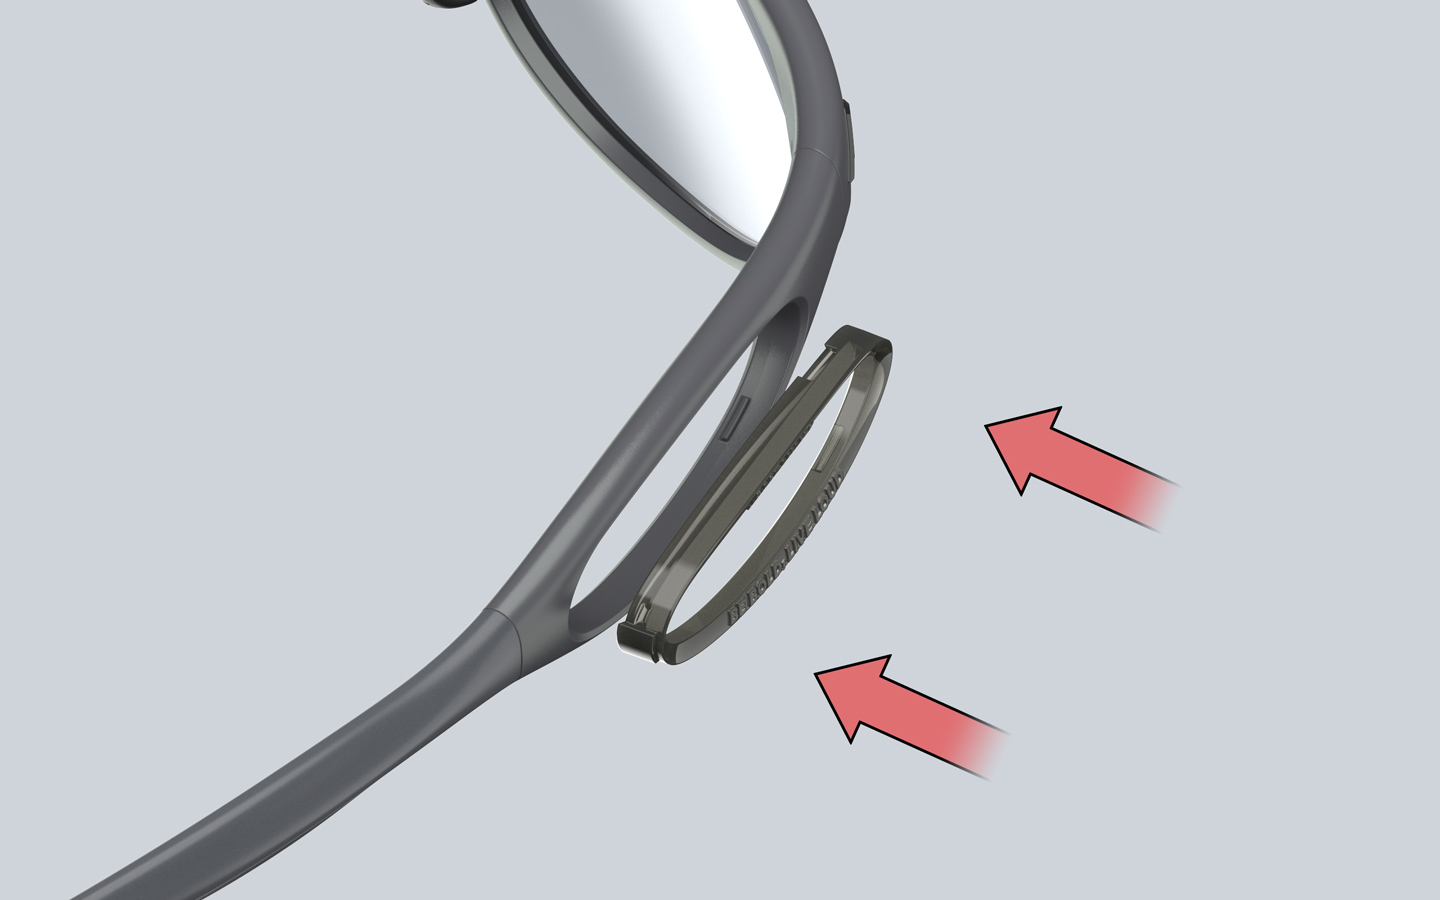
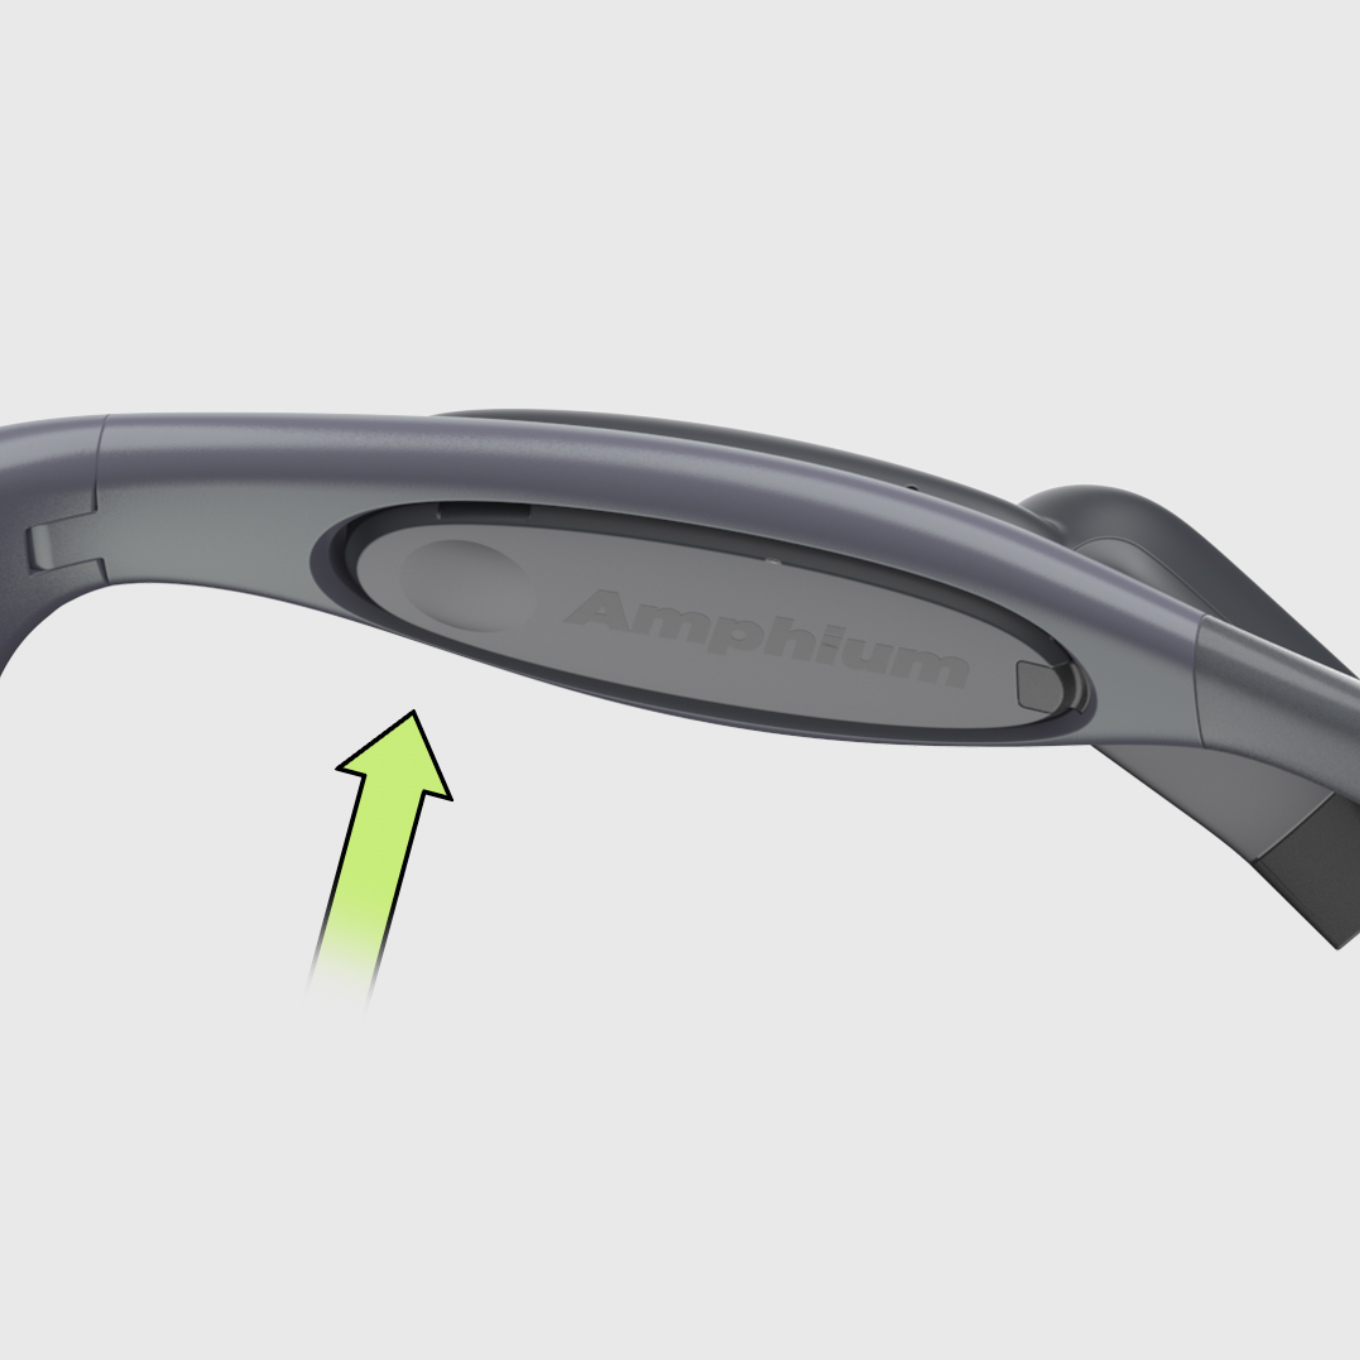
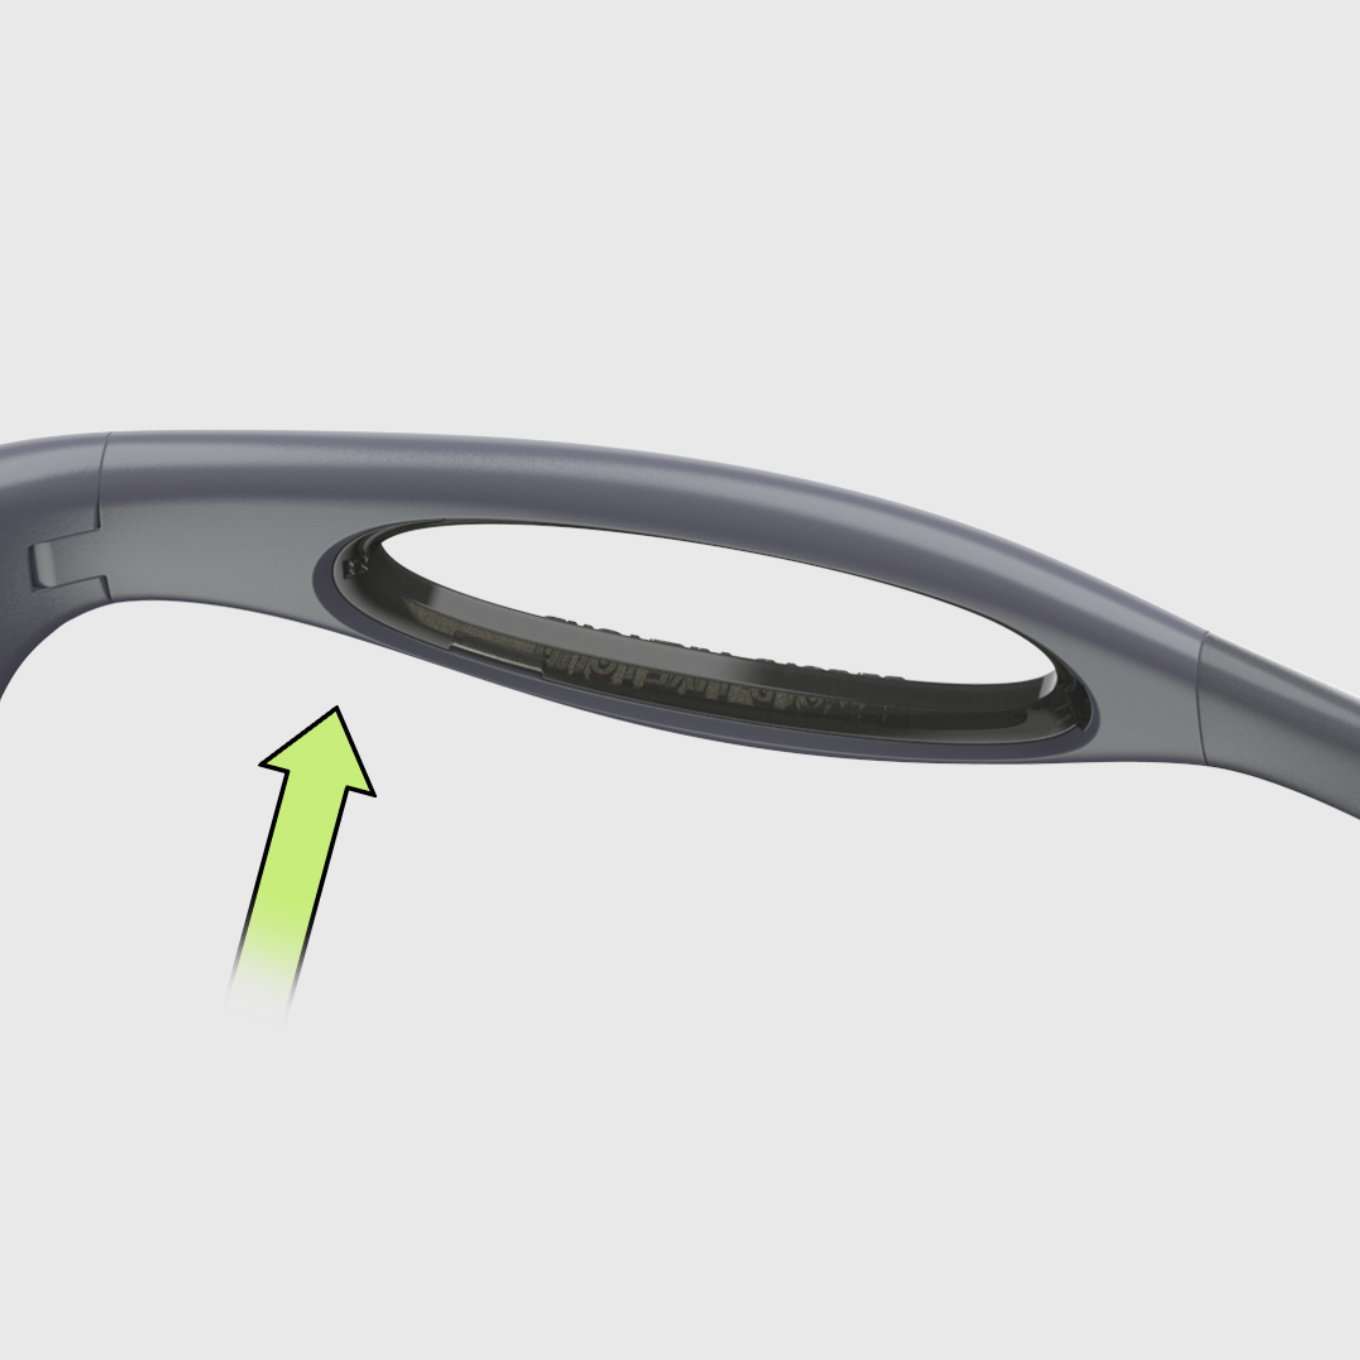
To install the stereo modules, push from the front side. Pushing parallel or pressing from the back will not work.
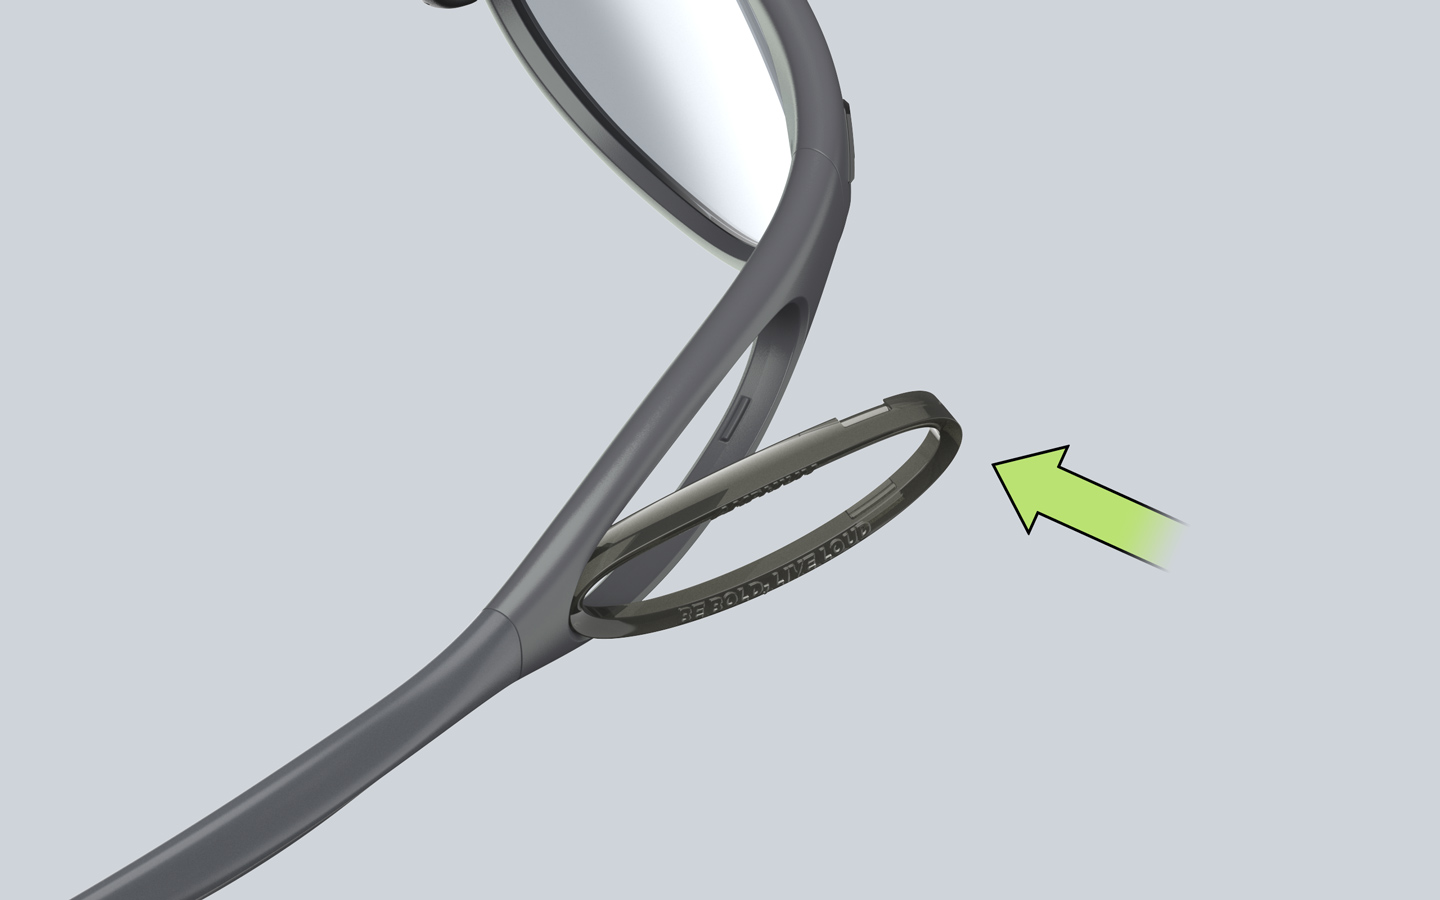
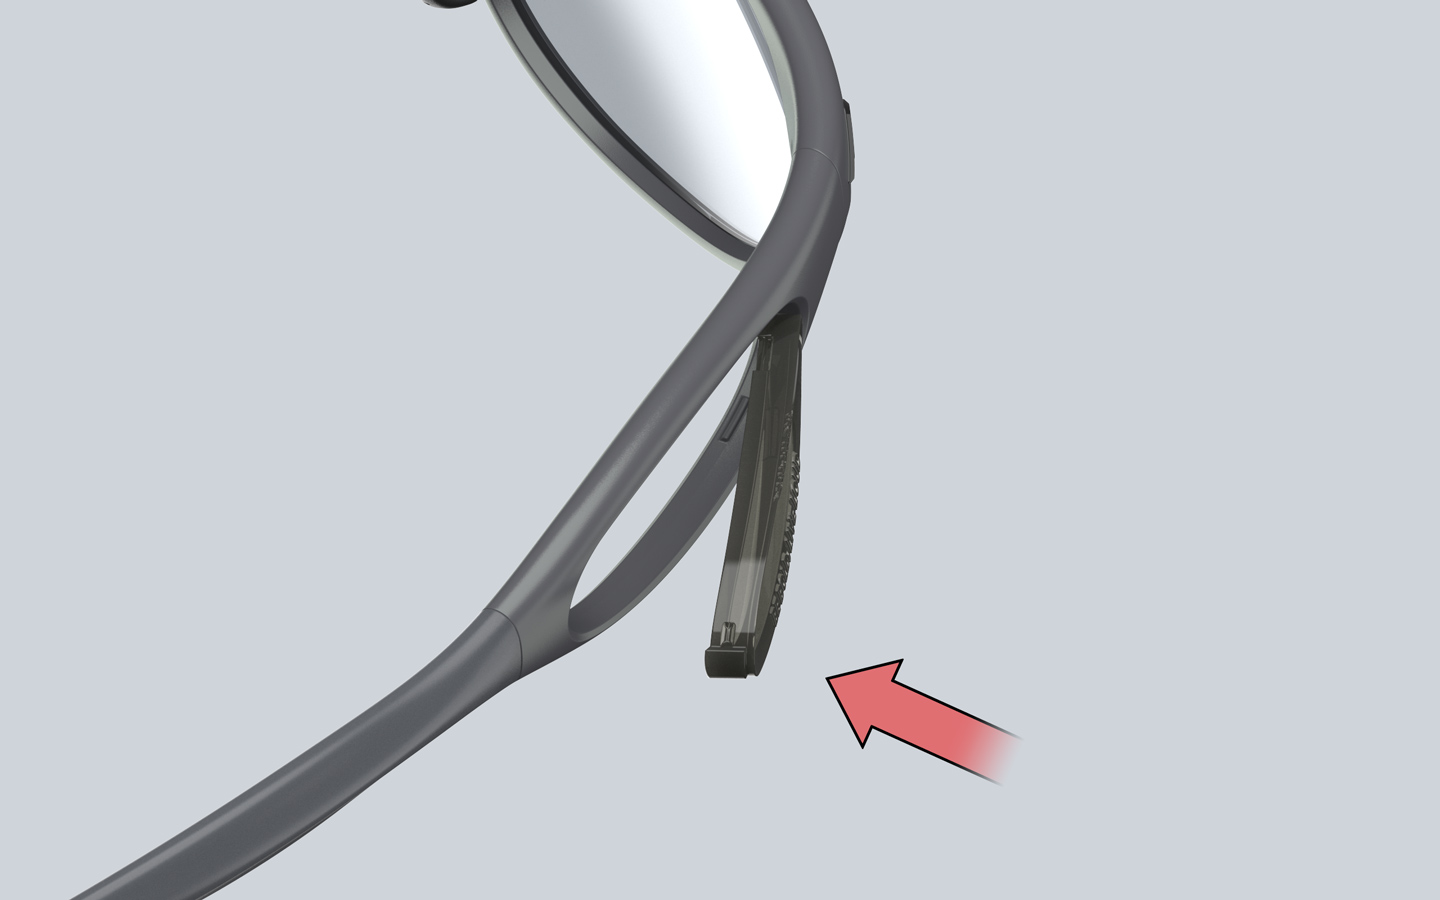
To install the decoration ring, push from the front side. Pushing parallel or pressing from the back will not work.
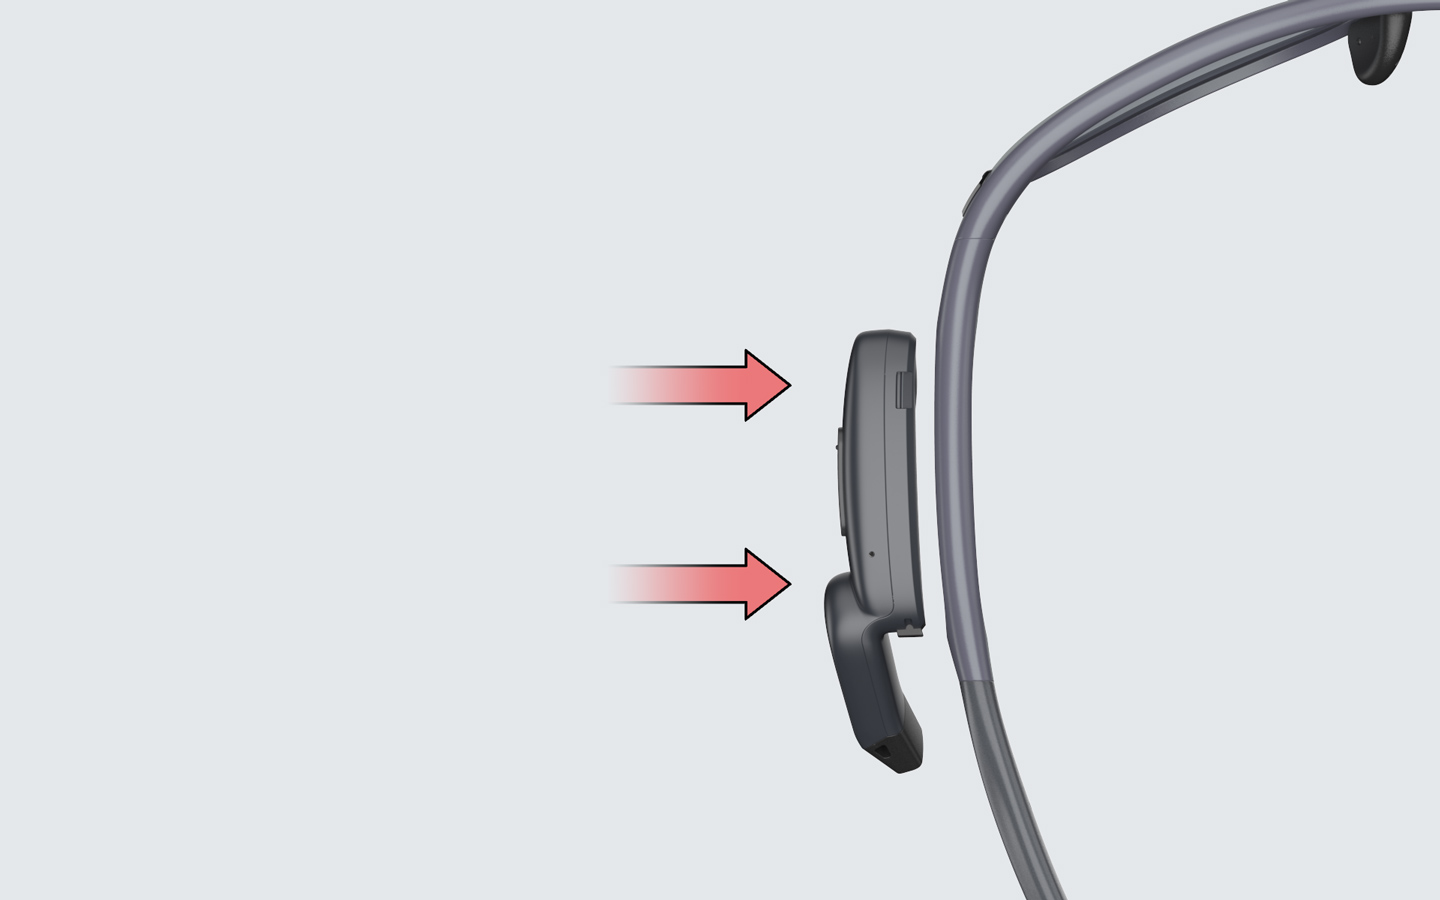
To remove them, push from the front side. Pushing parallel or pressing from the back will not work.
Button Operations
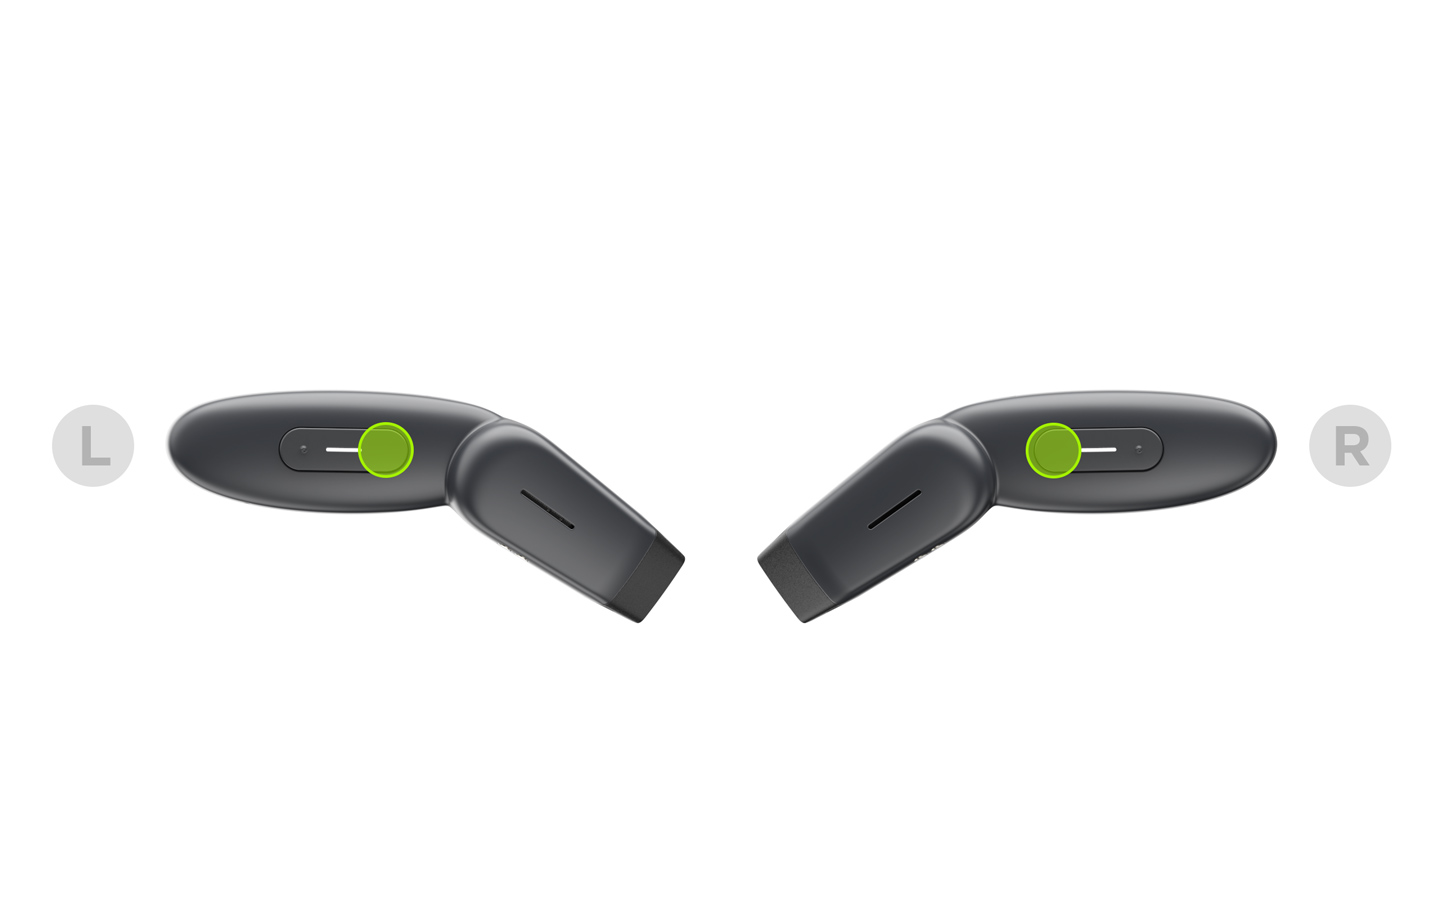
Power On/Off
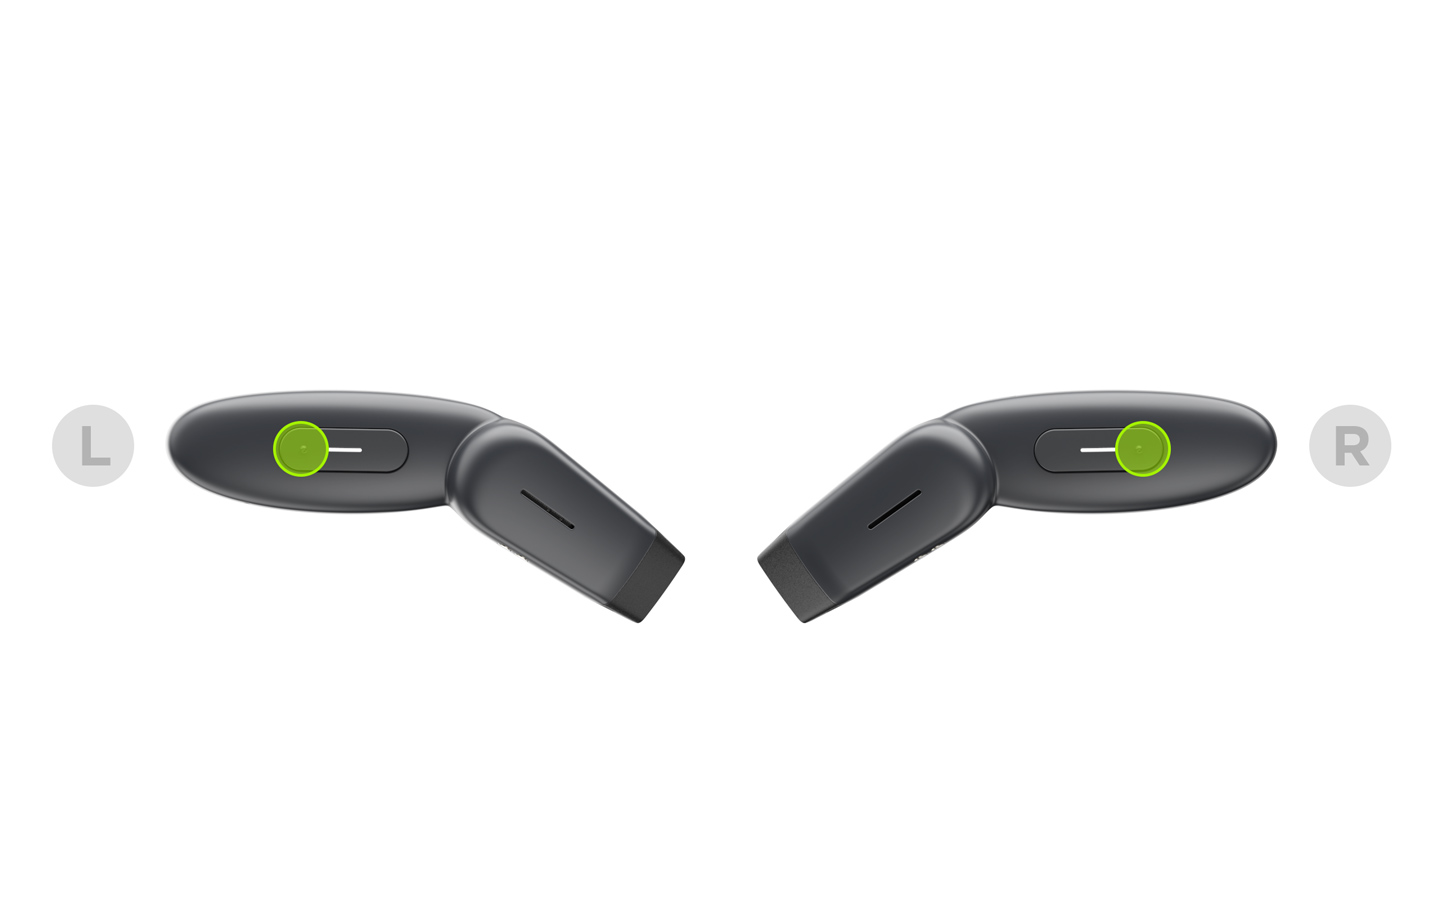
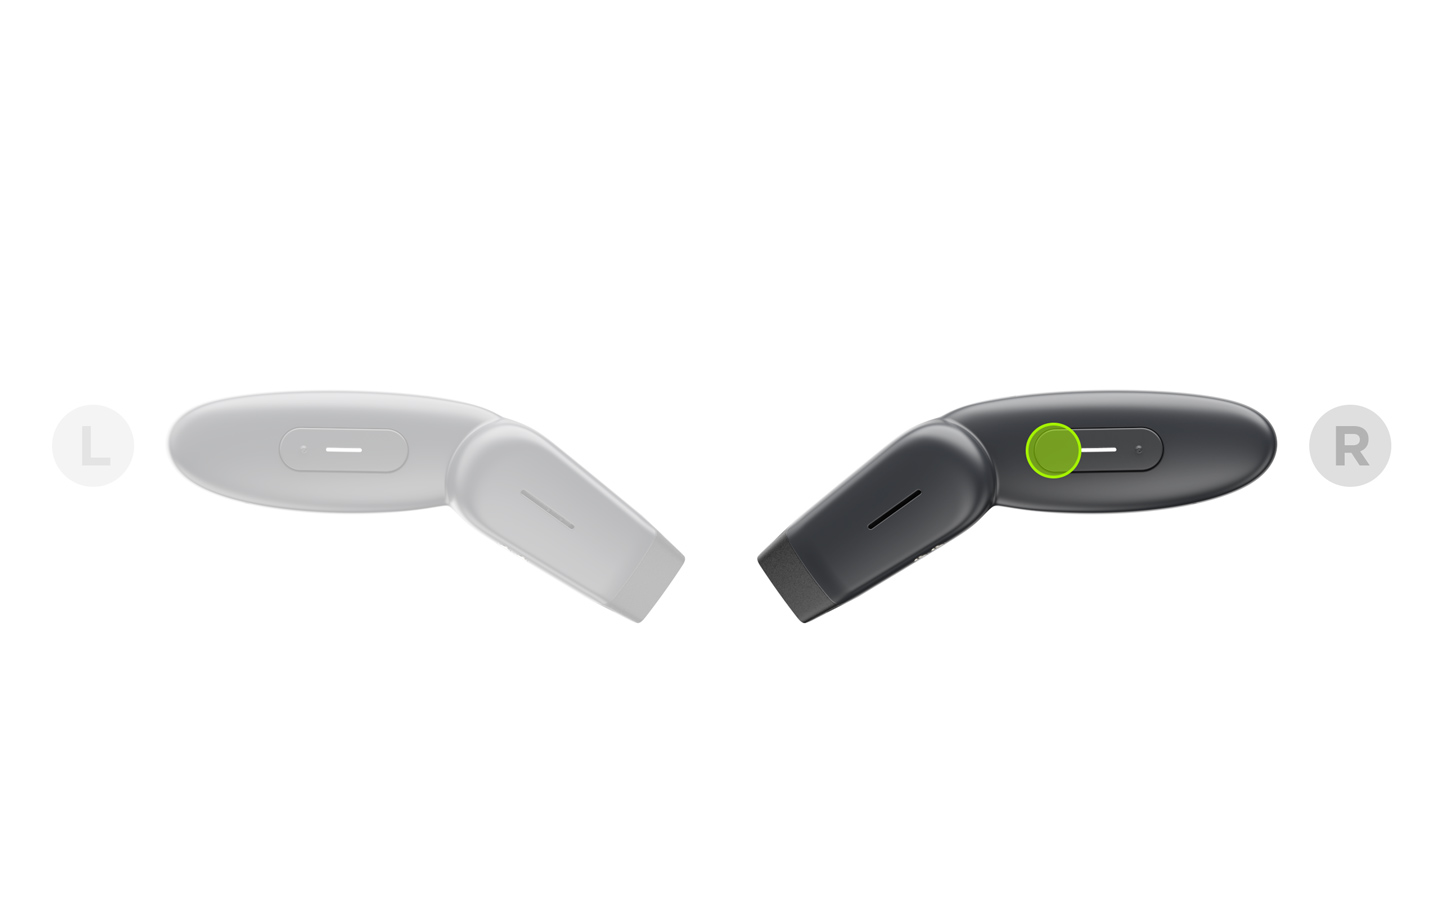
Volume Controls
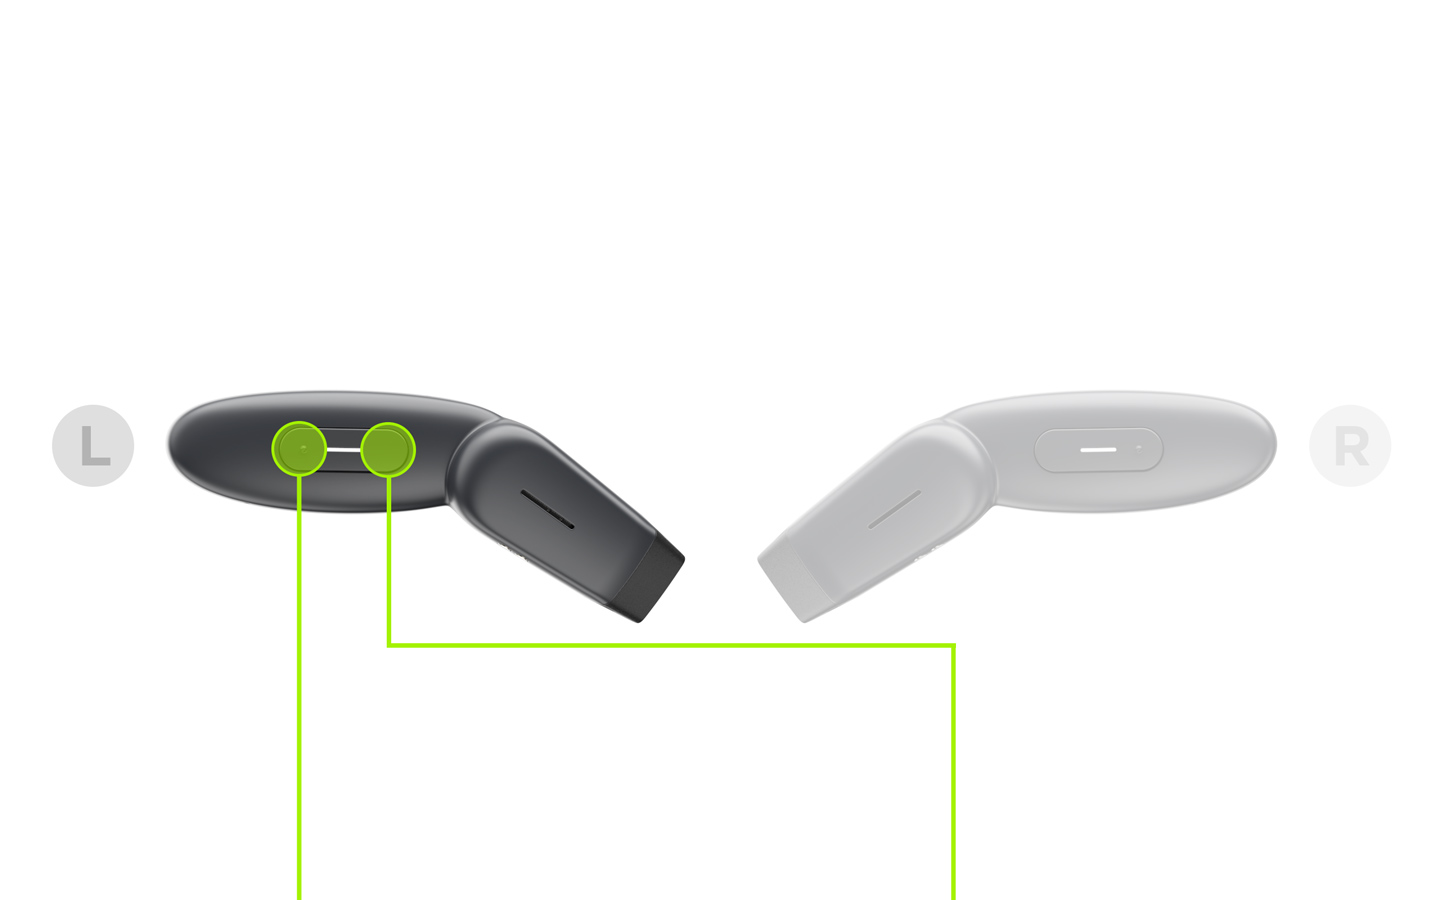
Music Control & Siri
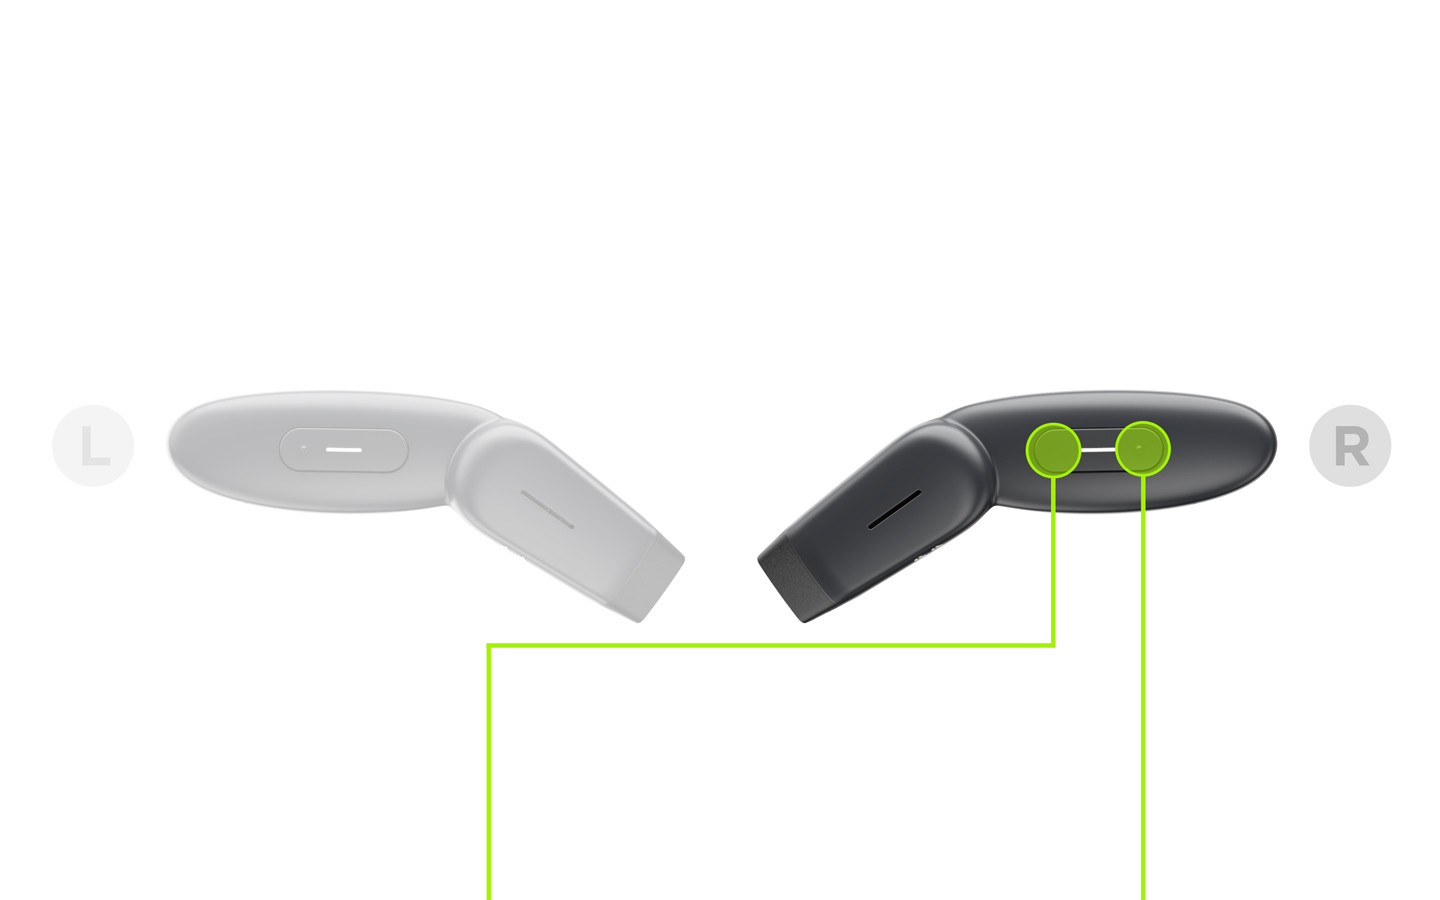
Quick Disconnect & Power Off
Push-to-Talk
Charging

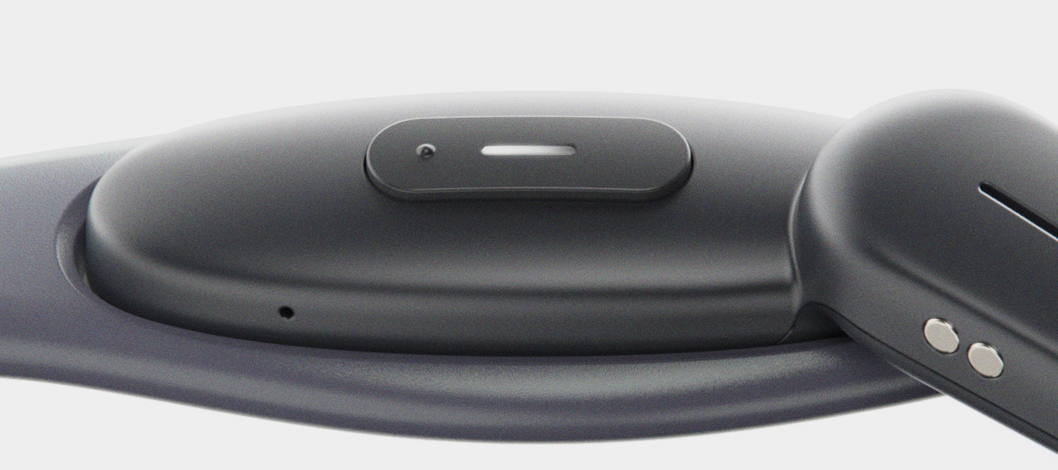
LED Indicator
Product in Use
White LED on for 1.2s
Power on
Red LED on for 1.2s
Power off
Red/white alternating blink
Pairing mode
Both LEDs blinking red & white
Left & right pairing reset
White LED blinking twice
Connected
Red LED blinking twice
Disconnected
Red LED blinking three times
Low battery
While Charging
Red LED stays on
Charging in progress
White LED stays on
Fully charged
White LED goes off 5 min after fully charged
End of charge
Care & Maintenance